Unreal Engine Tutorial - Animation Data Modifiers
Here's a quick tutorial to hopefully get you started with Animation Data Modifiers. Files are available as a Tier 2 reward on my Patreon: https://www.patreon.com/GhislainGir
Anim Modifiers lets you create sync markers, notify events, curve tracks and more, procedurally to your animations.

1 - Create a blueprint that derives from the AnimationModifier class

2 - Implement OnApply & OnRevert events and use the AnimationSequence pointer to access to all kind of cool functions to manipulate your animation's data.

3 - Add your animation data to the modifier list in the Animation Data Modifiers window in the animation preview window.
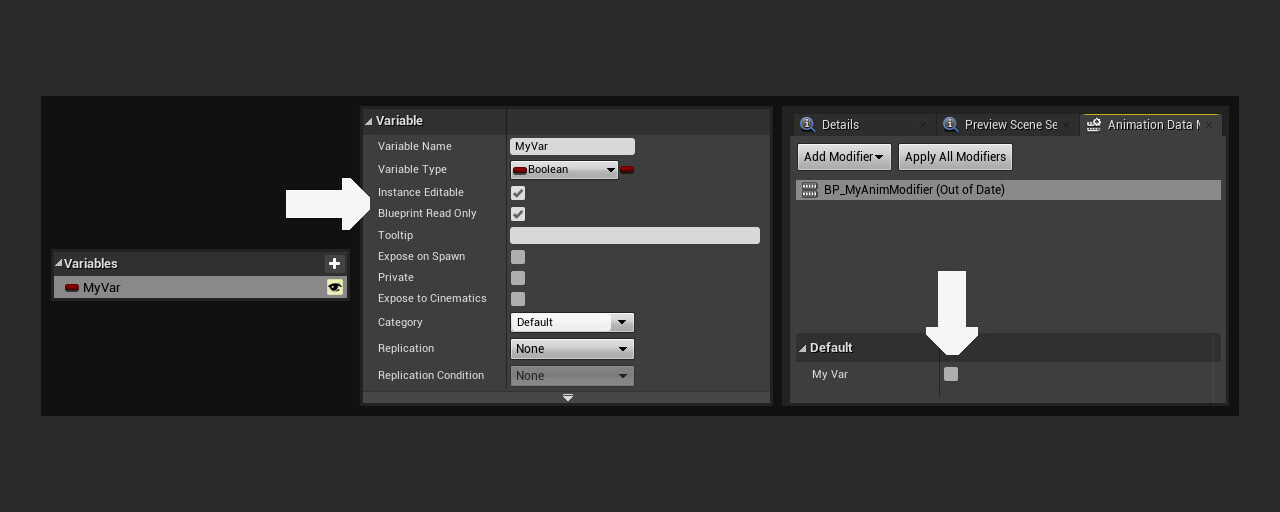
4 - Any variables made Instance Editable in your AnimModifier blueprint will be exposed in that window.

5 - Here's a modifier that keep tracks of a bone's location in a given axis and writes that into a curve. I begin by creating that said curve if it doesn't exists yet.

6 - Then I get the bone chain from the specified bone all the way up to the root bone (disregard the DoesBoneNameExist node that is bugged)

7 - Here I compute the amount of steps I'll want to take to sample the entire given animation. I can either do this once per frame or using a custom rate.

8 - Loop through the entire animation at a constant rate.

9 - For each sample, transform the specified bone's location from local space to component space by looping through the bone chain and composing transforms. Only then you get your bone's location in component space and can write that into a curve.

10 - I can also specify a float curve asset to remap the given bone's world space location in a given axis. The first example is without using any float curve asset and results in the raw world space Z location of my foot bone.
Quick demo of a couple of animation modifiers to automatically create sync markers, notify events and curve tracks.